If you’re longing for the fresh glow of a new wall color, you’re likely preparing to paint a room at some point. Before you do, though, it is wise to consider the good and the bad involved.
A new paint color can transform the ambiance of a room and invoke feelings of renewal. This is why many people are inspired to paint a room a new color frequently.
The same can be said of furniture and decor, leading some to refurbish old or outdated pieces regularly.
No matter the reason for the change, when you paint a room (or things in it) it can get problematic without caution.
Unfortunately, I know this from experience as I have painted my share of rooms on my own. It’s not that I was ignorant, there is just a lot to remember and keep track of if you don’t do it often. (okay, maybe some ignorance.)
If you’re like me, it is important to remind yourself of potential pitfalls before starting a big project. That’s why I’ve compiled these hard lessons I’ll never forget.
This article examines 5 hard lessons learned when you paint a room.
Contents
5 Hard Lessons When You Paint A Room
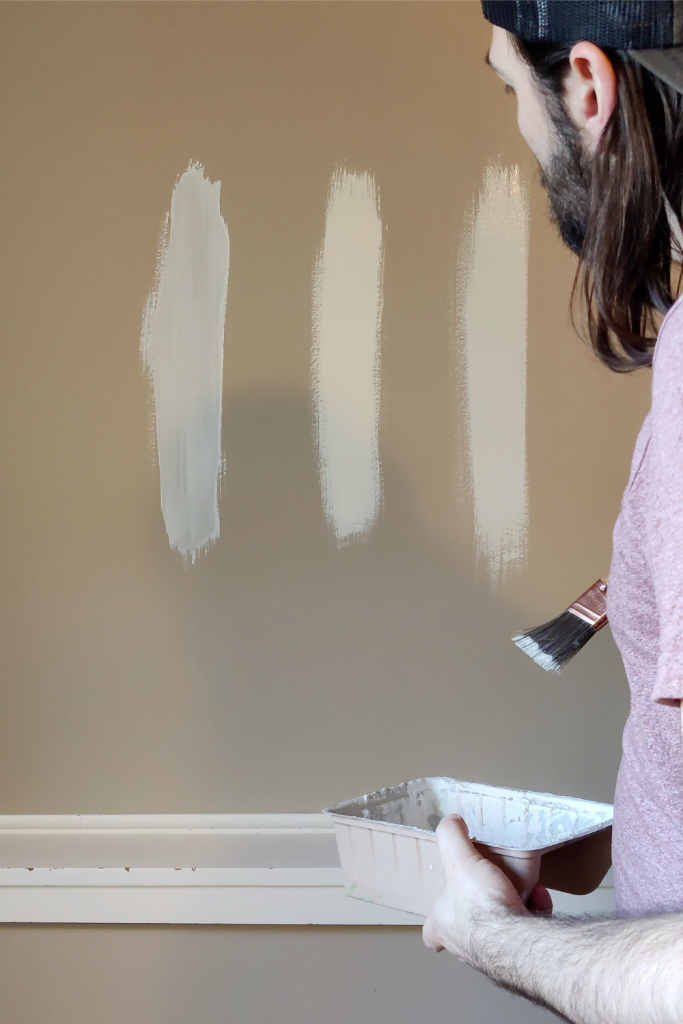
1. Don’t Skip The Paint Samples
My last painting project was a decent size, including two rooms of the same color. One room was about 9 x 13 feet and the other was about 12 x 13 feet.
For context, that came to about 700 square feet of walls and trim to cover.
We had already picked the color but planned to get samples to ensure we liked it. All was well. Then I went to the paint store which was about 25 minutes away.
I confidently approached the paint counter to make my request and that’s when things got wonky.
I knew I was there for samples only, but as I stood there waiting for service I began to think about time and how much it was being wasted.
It took time to get from home to the store. It will take time to go back. Appling paint samples takes time, and so does going back to the store for the full amount.
It just seemed like a lot of time! I would rather be able to go back home and start painting a room immediately.
When the clerk came to help me, I had worried so much that I convinced myself to get the full paint amount and commit to the color. (dumb move, seriously)
But it didn’t stop there. Not only did I commit to a color we were unsure of I also played “smart” and bought a 5-gallon bucket of the stuff to save money.
This short-sighted misstep could have been a disaster. It could have cost more time, money, and frustration to remedy had we purchased 5 gallons of useless paint.
Thankfully, it worked out but the lesson to be learned remains. The impact of time pressure is real and can influence decision-making quickly on the spot.
2. Don’t Choose The Wrong Primer
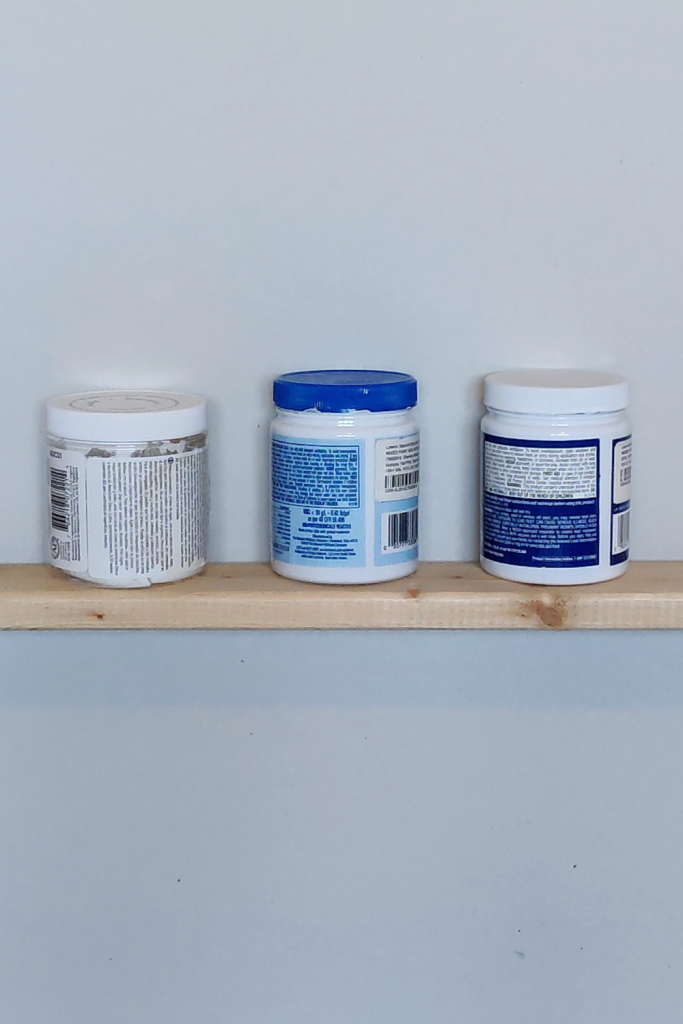
There is more than one kind of primer. Wild, I know. But primer is primer, right?
Wrong.
Sadly, I assumed that any primer would do the same job. This resulted in using one kind of primer to prime everything that needed it.
Via my terrible assumption, I used drywall primer to prime new, bare drywall (good), old stripped and sanded wood trim (bad), and old darkly painted walls (ugly).
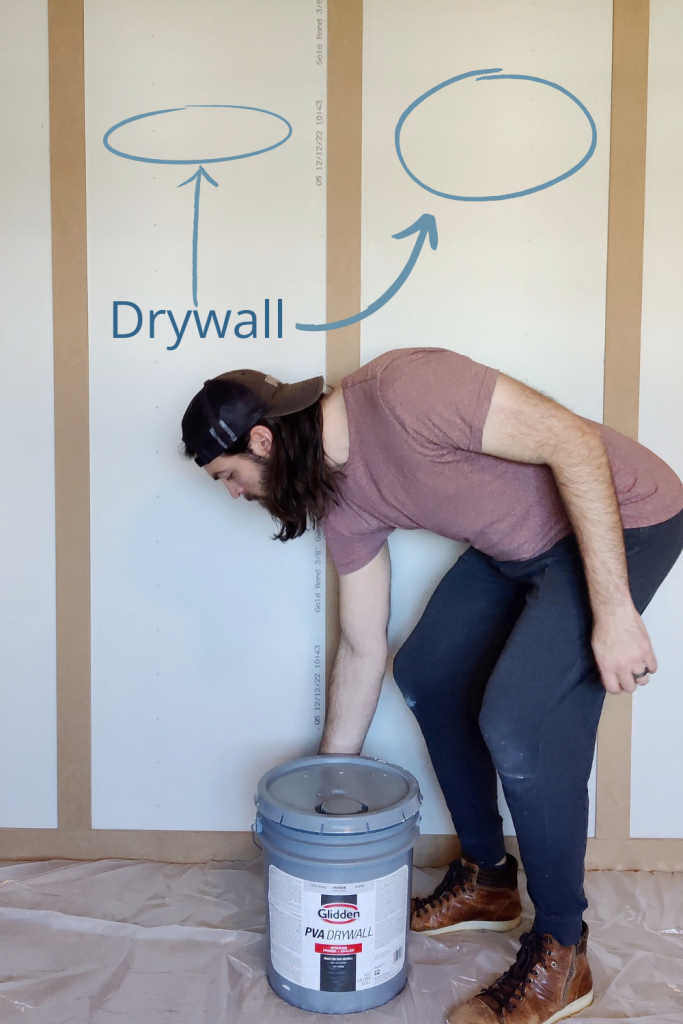
The drywall primer worked great for the new drywall, as it should, and eventually covered up the dark-painted walls after a few coats.
Where it fell short was in the application of priming wood. It didn’t go on even at all nor did it seem to cover the wood that well. I ended up using super-thick coats to make it show up well.
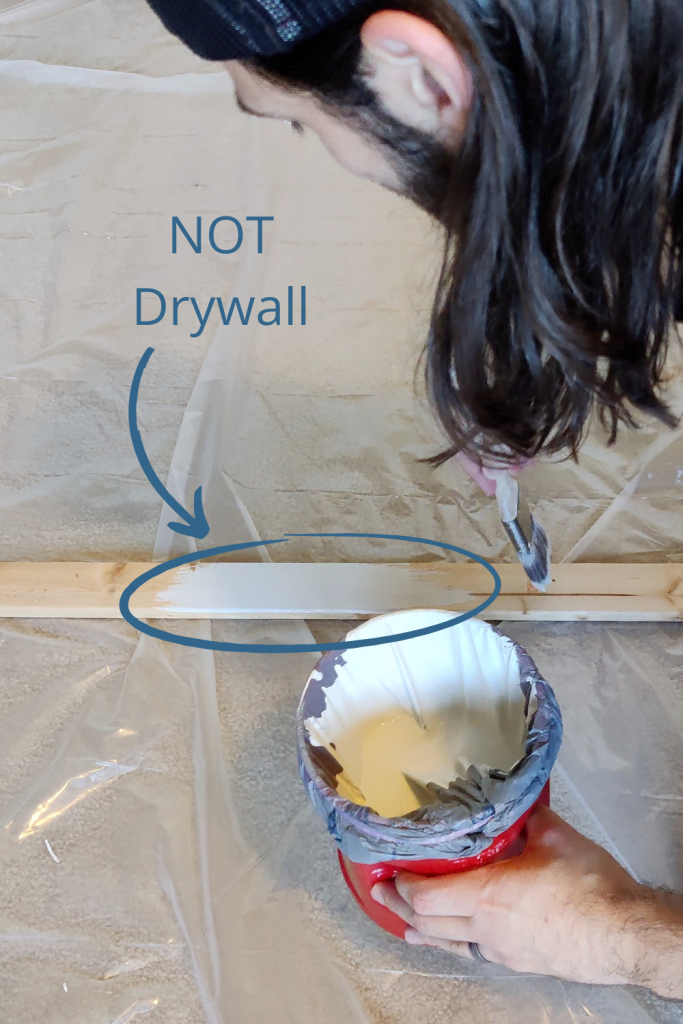
Perhaps the most disappointing part was that after the wood was primed, painted, and dried, it didn’t take much to scratch it. Right down to the bare wood. Even a fingernail could do it!
As frustrating as it is, I am not too mad at it. After all, it was established that the drywall primer was made for drywall. Not wood.
If you don’t already know (I didn’t back then), drywall primer is very thin and watery so it can soak into the drywall paper and lock in the protection. A good deal if you’re priming absorbent materials.
If you’re not, though, consider using an alternate type of primer, maybe one not created for drywall.
Looking back at my debacle, I think my motivation for using the drywall primer on everything was the cost. It was the cheapest primer available by far, so my Dutch side told me to use it on everything.
In this case, it wasn’t worth it. I’ll know for next time.
3. Don’t Use Absorbent Drop Cloths
While on the subject of primer, there is another lesson I’m reminded of (apparently primer is a good teacher).
Primer (especially drywall primer, as mentioned), paint, paint thinner, and other liquids can be thin. Even thin enough to go right through a drop cloth made from woven, absorbent material.
In my experience, drop cloths are something people tend to save money on. Some popular choices for “free” drop cloths include old bed sheets, blankets, and curtains.
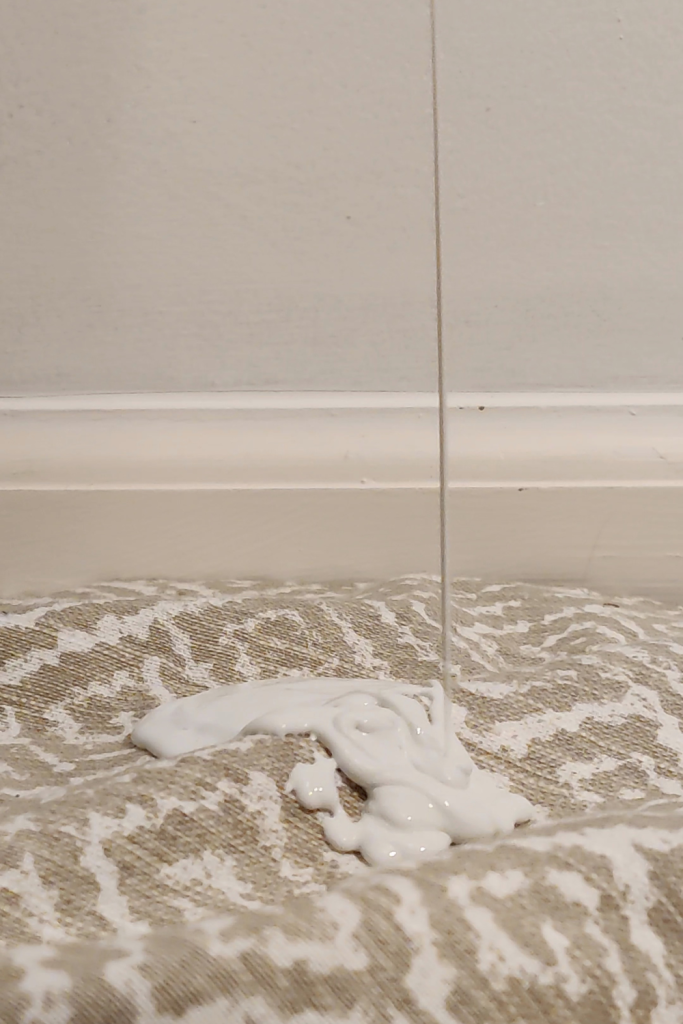
The problem with these is that they only stop the thick stuff from bleeding through. The rest of the mixture is fair game for your carpet underneath.
Unfortunately, I learned this the hard way because I used all those makeshift drop cloths in my last project! I blame my Dutch side again.
A splat of the super-thin drywall primer had bled through a pretty thick old curtain I threw down. Thick as it was, it was not enough to stop the watery content from leaving a white spot on my carpet.
A similar instance happened with paint on a thin bed sheet across the room. When it rains, it pours.
While I still lament the state of the carpet, I won’t ever let it happen again.
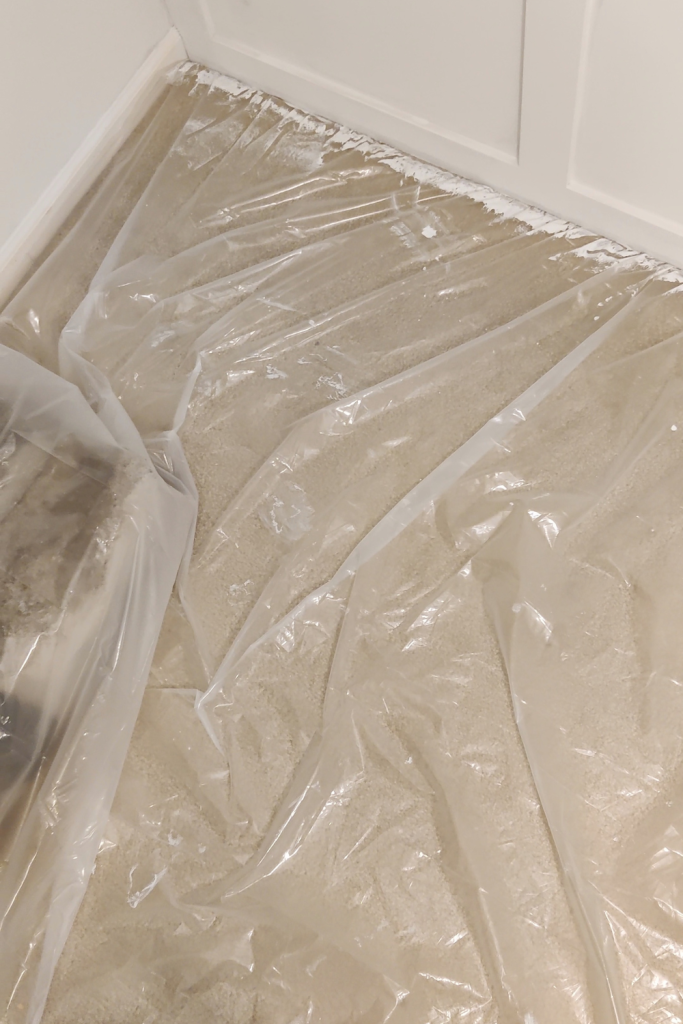
These experiences have led me to believe that the only drop cloths you should use are plastic or a non-penetrable material. No more “free” drop clothes.
Save your carpet. Spend the money.
4. Don’t Put Painter’s Tape On The Ceiling!
Of all the things to help you paint a room, I would say that painter’s tape, ironically, is not that helpful. Don’t get me wrong, it does have its uses like covering wall plates, door knobs, hinges, etc.
Painter’s tape can produce a nice clean paint line if you do everything correctly. It will just take a ton of extra time, cleanup, and waste.
However, there are certain scenarios where using painter’s tape to paint a room can damage your walls. Or in my case, the ceiling!
Even though painter’s tape is designed to be easy to peel off, it can be strong enough to take pieces of surface with it.
When I moved into my house 7 years ago, the first thing I did was paint the upstairs walls. I wanted to have nice, clean paint lines on the tops of every wall.
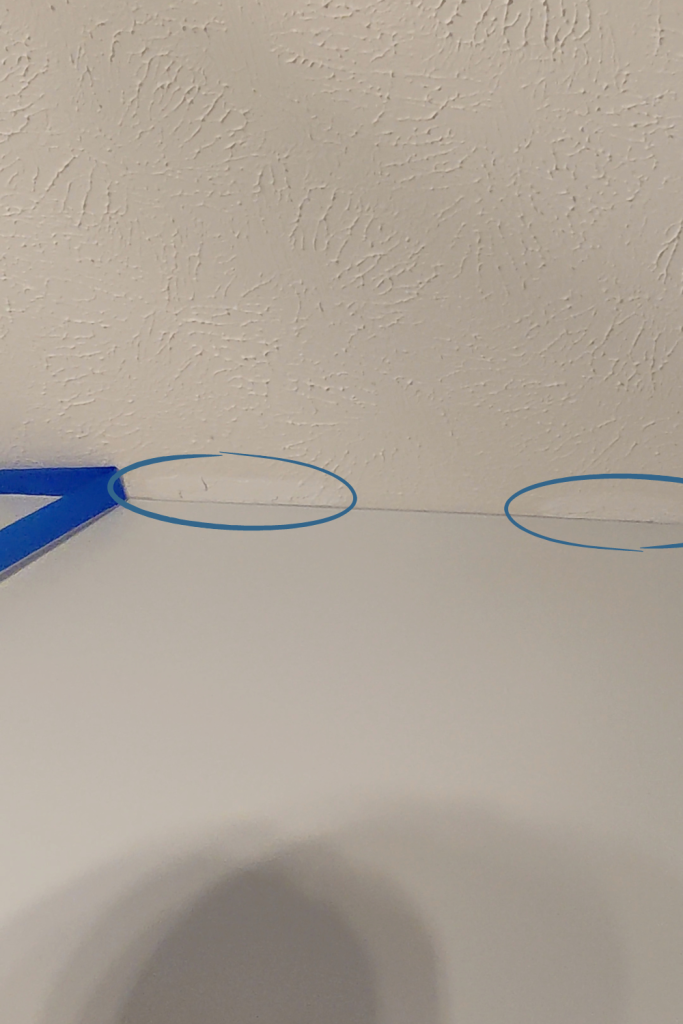
Knowing no better, I decided to use painter’s tape to achieve that. So I meticulously lined up the tape edge to the corner and stuck the tape down on the ceiling.
After everything was painted I went to remove the tape. Unfortunately, it was stuck to the ceiling paint/mud/whatever so much that it started to peel off with the tape!
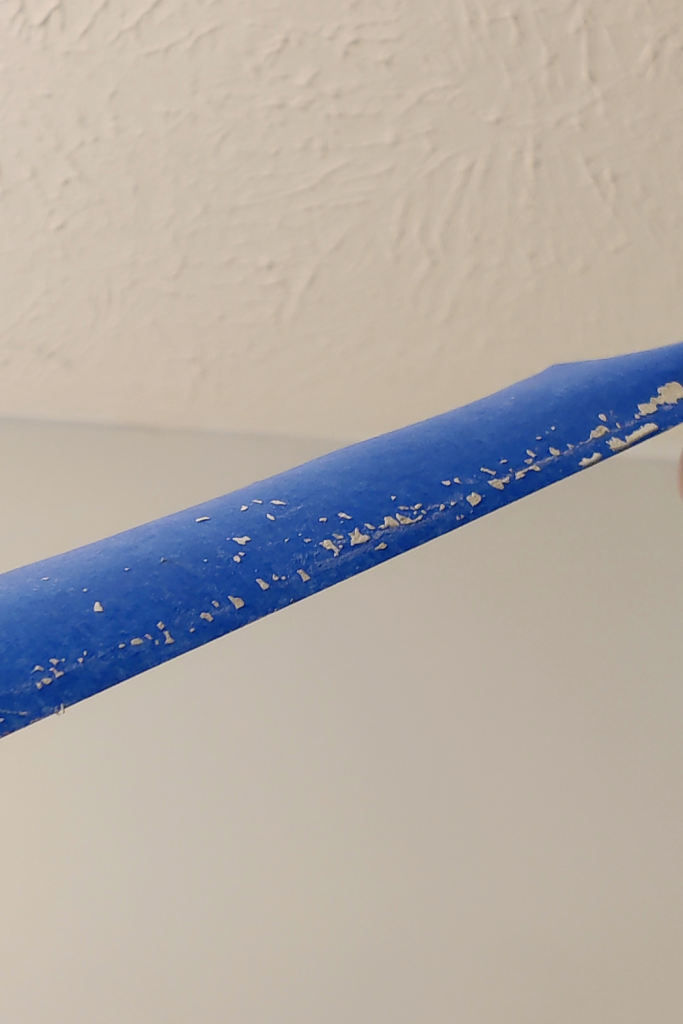
It left missing chunks in the ceiling where it met the walls. They resemble open cold sores in a mouth, only these didn’t heal on their own.
I’m unsure if the builder used a bad batch of mud or if mud just does this over time. I don’t know.
The point is to be aware that it can happen, potentially to the walls as well. So if you’re going to paint a room, learn to cut with a brush or use a paint guard.
Just don’t put tape on the ceiling!
NOTE: How To Paint A Room
Speaking of brush cutting, Jeff Thorman from Home Renovision DIY is one of my favorite resources for continuous home improvement training.
He has a vast wealth of home improvement and construction knowledge that he shares with homeowners in a practical and entertaining way.
He’s a pretty funny dude, too.
I have learned a ton from him, especially on how to paint a room. I believe that every homeowner can benefit from his content, so if you want to grow as a savvy homeowner, go check out Jeff!
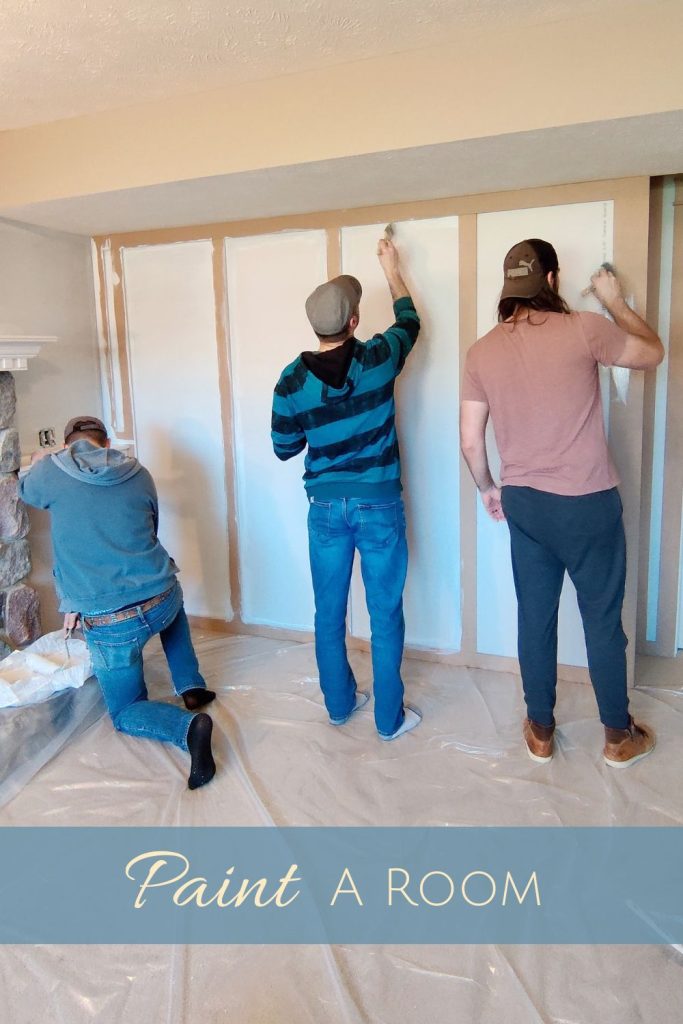
5. Don’t Paint A Room By Yourself
I have painted almost every room in my house multiple times. Almost every time, I did it alone.
There were only a handful of times when I asked friends and family to help me paint (thankfully, they said “yes”).
Honestly, there is a huge difference between these two experiences. It is also apparent that painting alone comes at a disadvantage.
In itself, painting a room alone isn’t a bad thing. It won’t be done any worse than doing it with a team. It’s not an inherently dangerous or risky activity either. It’s just, kinda… …boring.
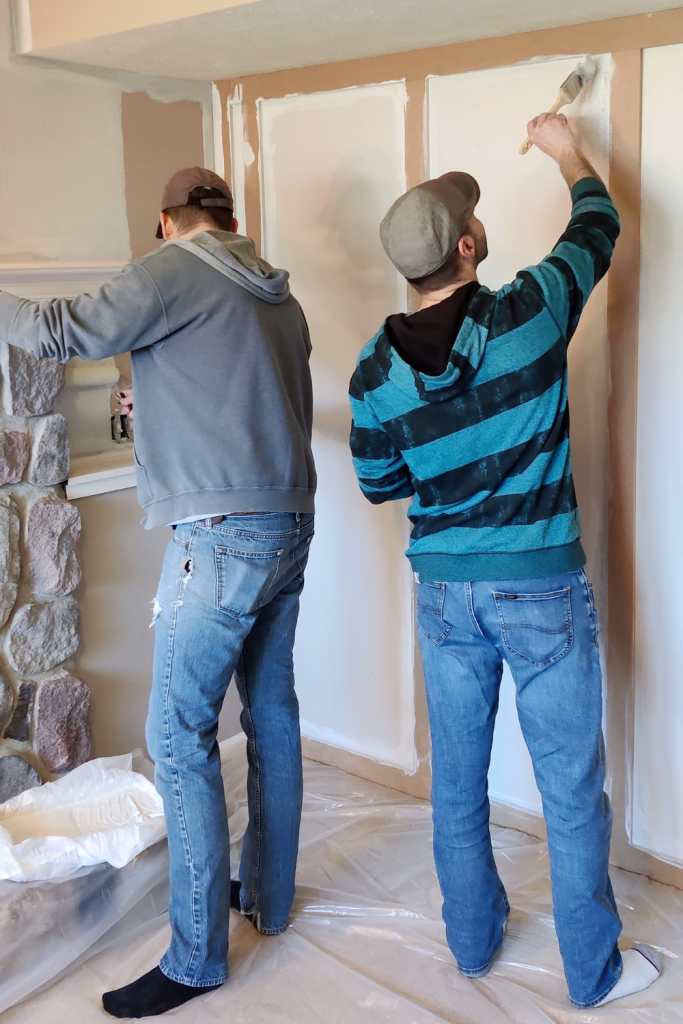
You see, when you paint a room with other people you tend to have more fun, assuming you like them. Enjoying other’s company can take a painting session to another level.
When everyone is having fun, work seems less like work. It can raise your energy level, too, so you can stay focused and produce more quality work.
Not to mention, it can also make great memories.
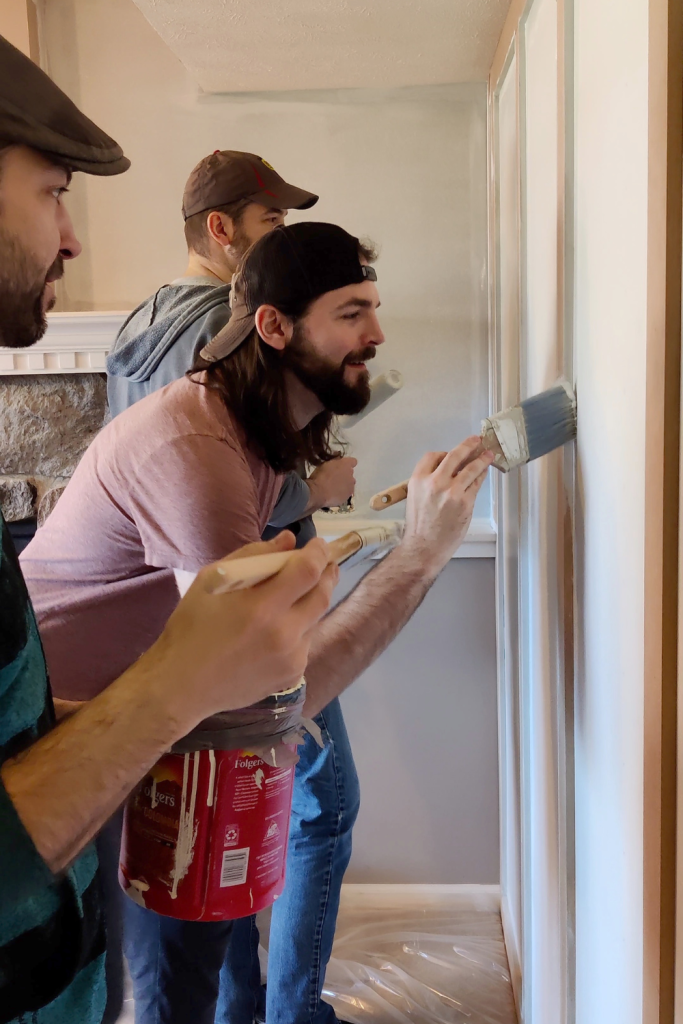
I had a painting party when I first bought my house and it transformed the experience from a painting party to a welcoming party to a cherished memory I’ll never forget.
It also transformed the look and feel of the whole house in a matter of hours. I couldn’t do that by myself.
As long as the project is big enough, I’d say that inviting others to paint with you is worth it both in time and experience.
Just make sure everyone is comfortable with it. Some people make better “food supervisors” than painters.
Conclusion
If we could only press a button and change the wall color like magic, we wouldn’t need to paint at all.
Unfortunately, that’s not the world we live in. Unless you live in one of Elon Musk’s tiny homes, then it might have that feature.
For those of us who don’t, we are stuck having to paint a room to see a new color. This can come with trip-ups and pitfalls.
Luckily, most are avoidable and well-documented, like the ones mentioned here.
So as long as you remember to consider them, you’ll have a great painting experience and your home will work better than ever!
Are you planning to paint a room soon? What hard lessons have you learned about painting?
Let us know in the comments below!
0 Comments